
Coordinating retreats and social events often stalls when gathering schedules from busy American participants becomes a headache. Group organizers across North America know that chasing replies and juggling calendars can waste hours every week. The right approach gives planners fast answers and keeps everyone engaged. Discover how simplifying the availability process removes obstacles and helps your group lock in dates without frustration.
Table of Contents
- Step 1: Define Your Event Details And Date Range
- Step 2: Create And Customize Your Whennot Event
- Step 3: Share Your Event Link With Participants
- Step 4: Review Busy Dates And Select Optimal Times
- Step 5: Confirm Attendance And Finalize Your Event
Quick Summary
| Key Point | Explanation |
|---|---|
| 1. Define event parameters clearly | Establish the purpose, participant number, and date range early on for effective planning. |
| 2. Utilize WhenNOT for scheduling | Use WhenNOT to streamline participant availability tracking with minimal effort. |
| 3. Send clear event communications | Clearly communicate event details and instructions to participants to enhance engagement. |
| 4. Analyze participant schedules carefully | Review availability data to identify optimal dates for maximum attendance. |
| 5. Confirm attendance efficiently | Use automated follow-ups to ensure participants confirm their attendance by a clear deadline. |
Step 1: Define your event details and date range
Successfully planning any group event starts with clear, strategic definition of your core event parameters. This foundational stage sets the trajectory for smooth coordination and participant engagement, ensuring you capture the essential information needed to move forward effectively.
Begin by outlining the fundamental aspects of your event. Specify the primary purpose of your gathering the target participants and the potential date range. When establishing event timelines, consider factors like participant availability, potential scheduling conflicts, and the flexibility required for your specific group. Think through key details such as the number of participants expected, their geographic locations, and any known constraints that might impact scheduling.
Create a preliminary list of potential dates that accommodate the majority of your participants. Use this initial framework to start gathering input. Remember that flexibility at this stage can dramatically improve your chances of finding a mutually agreeable time. Consider offering a broader date range that allows participants to indicate their unavailable periods, which can help you quickly identify the most suitable windows for your event.
Pro tip: Always build a 2-3 week buffer into your potential date range to maximize participant inclusion and reduce scheduling friction.
Here's a quick overview of essential event planning parameters for success:
| Parameter | Why It Matters | Planning Impact |
|---|---|---|
| Event Purpose | Guides all decisions | Ensures objective alignment |
| Date Range | Affects availability | Maximizes participant inclusion |
| Participant Number | Determines logistics | Right-sizing event resources |
| Location Considerations | Influences scheduling possibilities | Picks suitable venues/times |
| Known Constraints | Identifies scheduling conflicts | Avoids unsuitable event windows |
Step 2: Create and customize your WhenNOT event
With your initial event details defined, you are ready to transform your planning concept into a fully configured online event. The creation process allows you to set up a flexible and personalized scheduling experience that meets your specific group coordination needs.
Begin by accessing the WhenNOT platform and selecting the option to create a new event. Configure your event management settings with precision by entering your predetermined date range and specifying the purpose of your gathering. Select the appropriate parameters such as the total number of potential participants, desired event duration, and any specific scheduling constraints. Consider adding optional details like event description, location preferences, or any additional context that will help participants understand the gathering's objectives.

As you customize your event, focus on creating an intuitive and clear invitation that encourages maximum participant engagement. Ensure the interface is straightforward, allowing participants to quickly indicate their unavailable time slots. The platform's user friendly design means you can invite participants with a simple unique link that requires no complex sign up process.
Pro tip: Preview your event invitation from a participant's perspective to confirm all details are clear and the scheduling interface appears intuitive and easy to navigate.
Step 3: Share your event link with participants
Now that your event is configured, you are ready to distribute the unique participation link and invite your group to share their availability. The sharing process is designed to be simple, efficient, and minimally intrusive for your participants.
Effective event invitation strategies emphasize clear communication and accessibility. Copy the unique event link generated by WhenNOT and distribute it through your preferred communication channels. Email remains the most direct method, but you can also share the link via messaging platforms, team collaboration tools, or professional networking sites depending on your group's typical communication preferences. When sending the invitation, include a brief explanation of the event purpose, the date range you are exploring, and clear instructions on how participants should indicate their unavailable times.
Remember that the beauty of WhenNOT lies in its simplicity. Participants do not need to create accounts, log in, or complete complex forms. They simply click the link, view the potential dates, and mark their unavailable times. This straightforward approach increases participation rates and reduces the administrative burden on both the organizer and the participants.
Here is a summary of WhenNOT's advantages compared to traditional scheduling methods:
| Factor | WhenNOT Approach | Traditional Method |
|---|---|---|
| Setup Time | Few minutes, online | Manual, often slow |
| Participant Effort | No sign-up required, quick input | Multiple emails or calls needed |
| Conflict Detection | Automated, visualized | Manual checking, error-prone |
| Response Tracking | Real-time status updates | Relies on organizer follow-up |
| Ease of Use | Intuitive interface | Varies, not always user-friendly |
Pro tip: Send a friendly reminder message a few days after your initial invitation to boost response rates and ensure maximum participation.
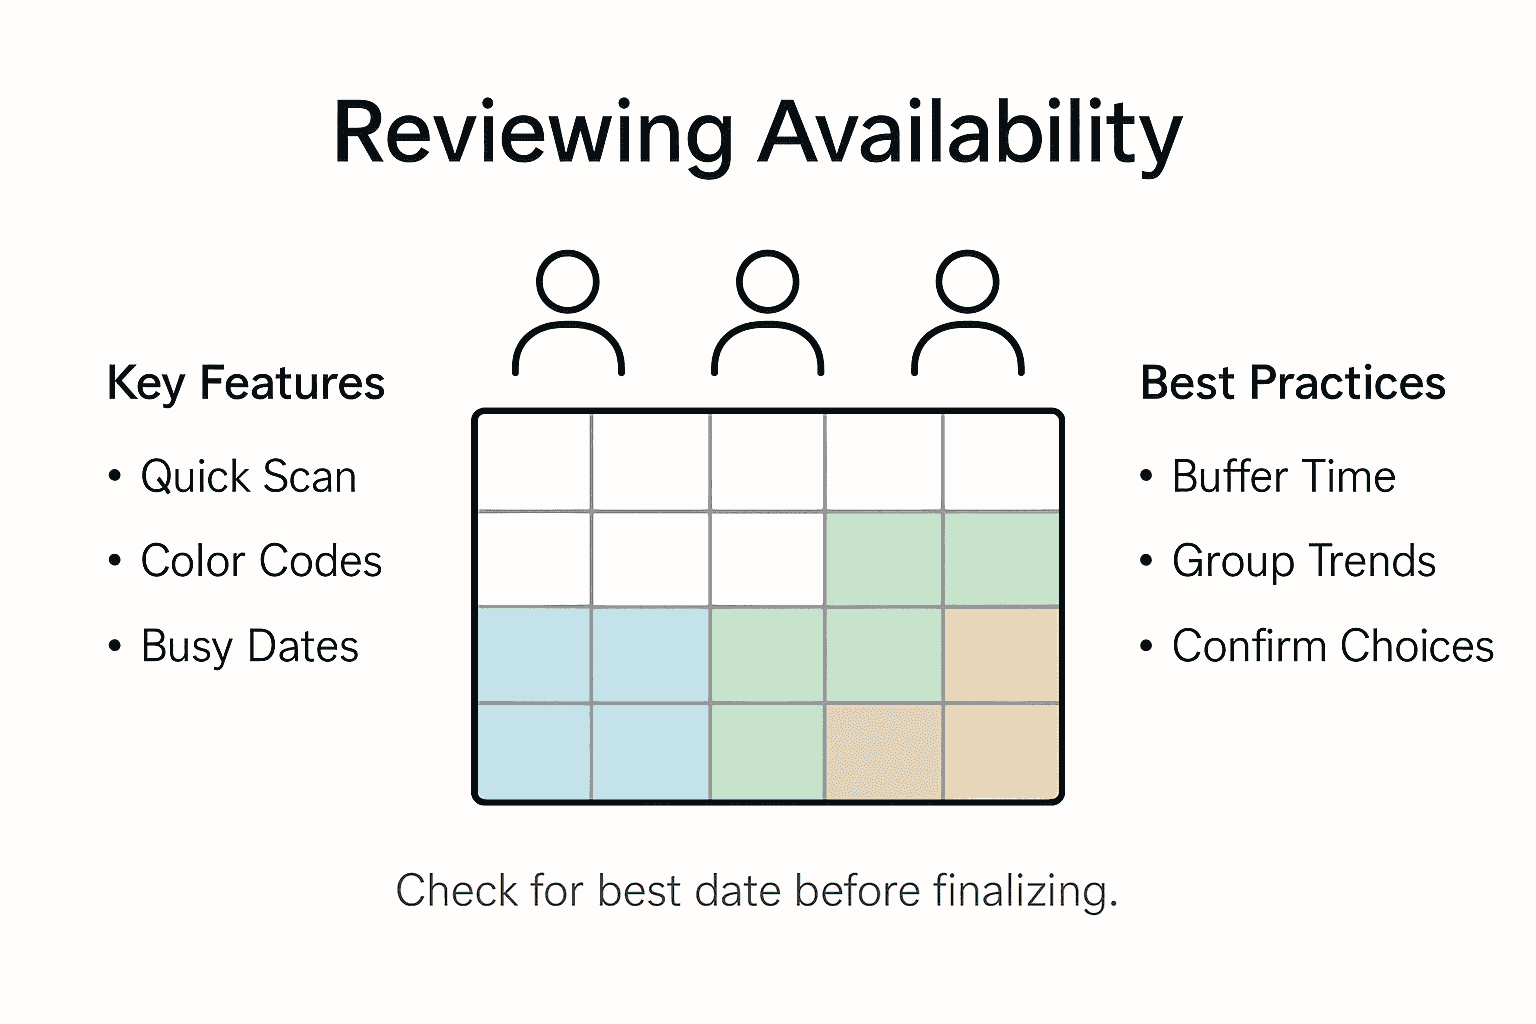
Step 4: Review busy dates and select optimal times
After collecting participant availability, you are now ready to analyze the data and determine the most suitable dates for your event. This critical step transforms individual schedules into a cohesive group timeline that works for everyone.
Advanced calendar management strategies highlight the importance of a systematic approach to reviewing participant constraints. Examine the WhenNOT visualization carefully, looking for the dates with the least number of conflicts. Pay special attention to the overlapping unavailable periods, which will help you quickly identify the windows of maximum potential participation. The platform automatically highlights these optimal time slots, making your decision process straightforward and data driven.
Consider additional factors beyond simple availability. Look at the distribution of busy dates across your participant group, noting if conflicts are concentrated among specific team members or spread more evenly. If multiple equally good date ranges exist, consider secondary factors like time zone differences, individual work schedules, or any known personal constraints that might impact participation. The goal is not just finding a technically available time, but selecting a slot that genuinely works for the majority of your participants.
Pro tip: Always select dates that provide at least a 20 percent buffer of available participants to account for potential last minute changes or unexpected conflicts.
Step 5: Confirm attendance and finalize your event
With optimal dates selected, you are now entering the final stage of event coordination where you will transform your scheduling work into a concrete event plan. This crucial phase ensures all participants are informed and committed to the selected time frame.
Comprehensive attendance confirmation strategies recommend sending a clear and detailed follow up communication to all participants. Draft a concise message that includes the confirmed event dates, specific time slots, and any additional logistical details participants need to know. Highlight the dates that emerged from your collaborative scheduling process and provide explicit instructions about next steps. Include a direct request for final confirmation, setting a clear deadline for responses to help you complete your event planning.
Use WhenNOT's built in communication features to streamline this process. The platform allows you to send automated follow up messages that remind participants to confirm their attendance and provide a quick way to indicate their final commitment. Track responses in real time and be prepared to make minor adjustments if key participants have last minute conflicts. Your goal is to create a final participant list that represents the most inclusive and convenient time for your group.
Pro tip: Send your confirmation message during standard business hours and allow at least 48 hours for participants to respond to maximize engagement and response rates.
Simplify Your Group Scheduling Challenges with WhenNOT
Planning events where finding a common time fits everyone's schedule often becomes overwhelming and confusing. This article shows how collecting participant availability and managing busy dates is essential yet can be time consuming and error prone. If you have faced difficulty coordinating multiple attendees across flexible date ranges, dealing with last minute conflicts, or tracking responses manually, you are not alone. Key pain points include avoiding scheduling friction, ensuring clear communication, and quickly identifying optimal event times with confidence.
WhenNOT eliminates these problems by asking participants when they are NOT available rather than when they are free. This inverse scheduling method speeds up the process for multi-day and flexible events by focusing on unavailable dates, making it easier to spot common open windows. With no sign up or account creation needed for participants, this tool lowers barriers and boosts response rates. The platform also visualizes busy days for the entire group in one simple view so you can make informed decisions without tedious manual checking. To experience the power of easy online participant availability collection, create and customize your own event at WhenNOT.

Ready to save time and reduce scheduling stress for your next group event Use WhenNOT today and transform cumbersome planning into a smooth, collaborative experience. Visit the WhenNOT homepage to start your free event setup now and see how quick and effortless finding the perfect date can be. Your group will thank you for streamlining availability collection and making confirmed attendance easier than ever.
Frequently Asked Questions
How can I effectively collect participant availability online?
To collect participant availability online, use a scheduling platform that allows participants to indicate their unavailable times easily. Start by outlining the event details and creating a unique event link that you can share with your participants.
What details should I include when defining my event parameters?
When defining your event parameters, include the purpose, date range, number of participants, location considerations, and any known constraints. This information will help streamline the scheduling process and maximize participant engagement.
How do I customize my event in a scheduling platform?
To customize your event, access your chosen scheduling platform and input your event details like date range and participant count. Add context to the event, such as its purpose and any constraints, to clarify for participants when they provide their availability.
What communication strategies can boost participant response rates?
Effective communication strategies include sending clear invitations with your event link and a brief overview of the event purpose. Consider sending reminder messages a few days after the initial invitation to encourage participants to respond promptly.
How do I analyze participant availability once collected?
Analyze participant availability by reviewing the data in a visual format from the scheduling platform. Look for the dates with the least conflicts and prioritize them for your event, ensuring a minimum of 20% buffer participants to account for last-minute changes.
What should I include in the final confirmation message for my event?
In your final confirmation message, include the selected event dates, times, and any logistical details participants need to know. Request final attendance confirmation with a clear deadline to ensure that your event planning remains on track.